

Present: Pete Hall, Andy Sutton
After we’d gone elsewhere the previous week, I still hadn’t been to Brownley Hill, this problem had an obvious solution. Andy and I went to Brownley Hill. The drive over was very pleasant, the dales were covered with snow and mist making for a most enjoyable journey.
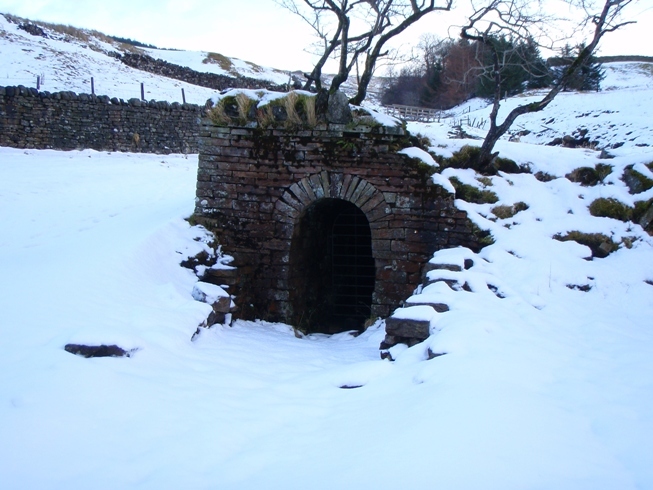
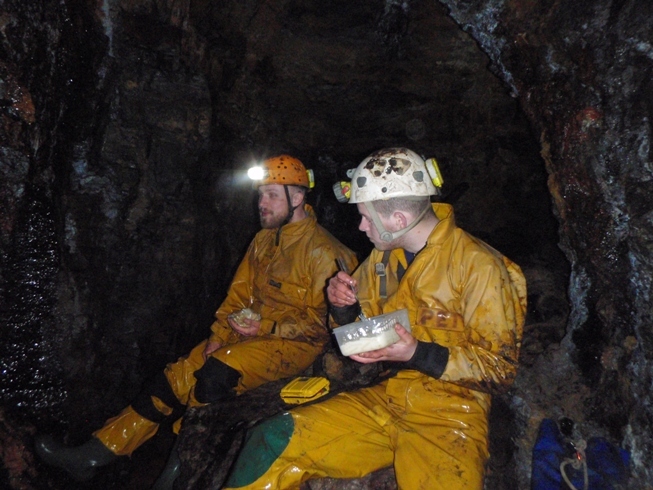
We located the mine entrance without any problems (and found a handy place to park very close by), geared up and headed in. I hoped to find the bottom of the shaft in from Scaleburn Vein, so once underground we turned south and followed the passage for some considerable distance. After some rather deep water, the sulphur in the air became somewhat potent and we decided it best to turn back; upon reaching a dry spot we ate lunch and drank tea.
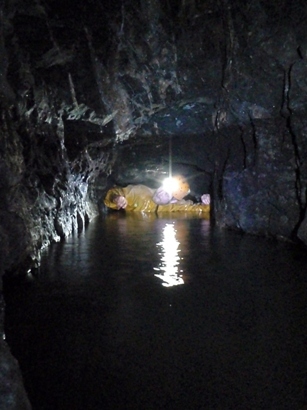
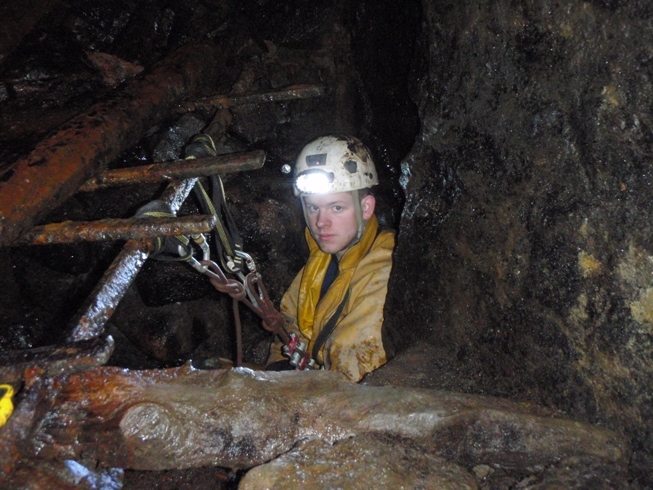
Andy, in a deep bit
After a wholesome meal we felt up to carrying on, taking a left-hand branch in the passage which we followed till it became blocked. Returning, I noticed a section of more modern arching, with a hole through, this matched a description I’d read previously. The arching had been put in by Roy Fellows et al in 1988 and through the hole was a ladder up and a bypass of the collapse. This would take us on via a somewhat precarious traverse across suicide sump, to Guddamgill.
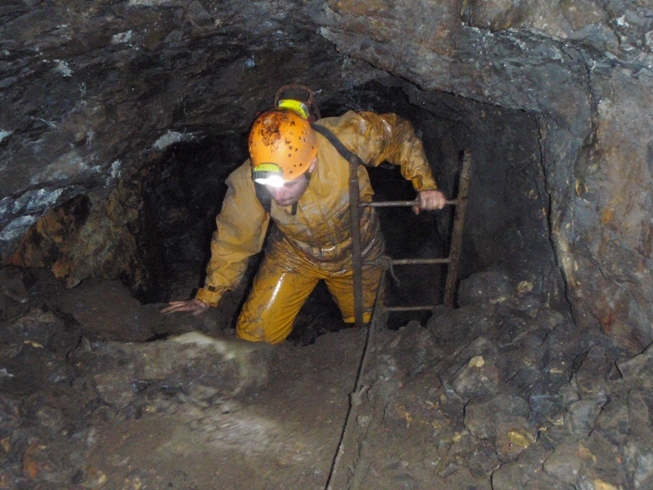
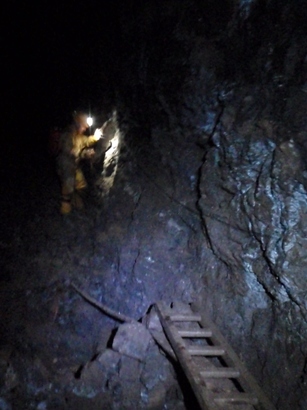
Ladder into workings
We fetched our bags of gear from where we’d had lunch and proceeded to climb through the hole in the roof and up the ladder; this brings you into a huge cavernous area of workings. A sump slows progress, but a ledge to the side offers an intimidating bypass, shortly suicide sump is reached. This sump was a combined hopper/ manway and is some 20 feet wide, an unstable stone wall separates the two shafts. The first section is bridged by two iron rails, the second by a wooden ladder; a reassuring piece of bailer-twine acts as a handline.
Suicide sump
I crossed first; Andy (quite sensibly I might add) wasn’t too keen on crossing the chasm without any form of protection, so we rigged a proper rope handline. This meant we only had one more rope for later should we need it.
Beyond this an arched passage runs along the bottom of the cavern, piled most of the way along with deads and in fairly poor condition. Continuing in the main workings (above the passage) an impressive wall of deads is met, known as Hadrian’s Wall, shortly followed by a sump on the left. I recognised the top of the sump from RF’s 1988 account and rigged it for SRT, the passage below was flooded so we had to find another way on.
Sump to flooded horse level
The chamber we’d been in didn’t continue and the only option was to take the poor condition passage at its base. Some very dodgy looking timber supports the climb down into it, but within a few yards the passage is stone arched again. After some 20yards we came to a collapse; I could see the passage continuing beyond, but the hole through was little more than body sized and seemed rather unstable. I removed my SRT kit so as not to get caught on the way through, then on second thoughts decided to give it a poke first; a handy 20 foot length of rail made a good poking device. As I poked at the fallen rock I was suddenly very glad I hadn’t gone through; the whole lot came down, completely blocking the passage ahead.
There s an enormous pile of deads above here, so restabilising the passage would be quite a serious job, involving many trips and a lot of scaffolding, not a job for today; we turned back.
On the way out I descended the one sump still left unexplored in that area; rigged to a single iron bolt hammered into the stonework (backed up to a loose rail that Andy was sitting on) I carefully abseiled down; it went nowhere…
Suicide sump was far worse on the way back; as I watched Andy cross, I saw the supporting wall in the middle move, didn’t fill me with confidence. Since I was de-rigging the rope as I came, I had nothing really to hold onto and didn’t enjoy it one bit.
We stopped for tea where we’d had lunch before heading out and to The Miners for a couple of swift pints.
Pete